Yoto Card Case
Yoto Card Case
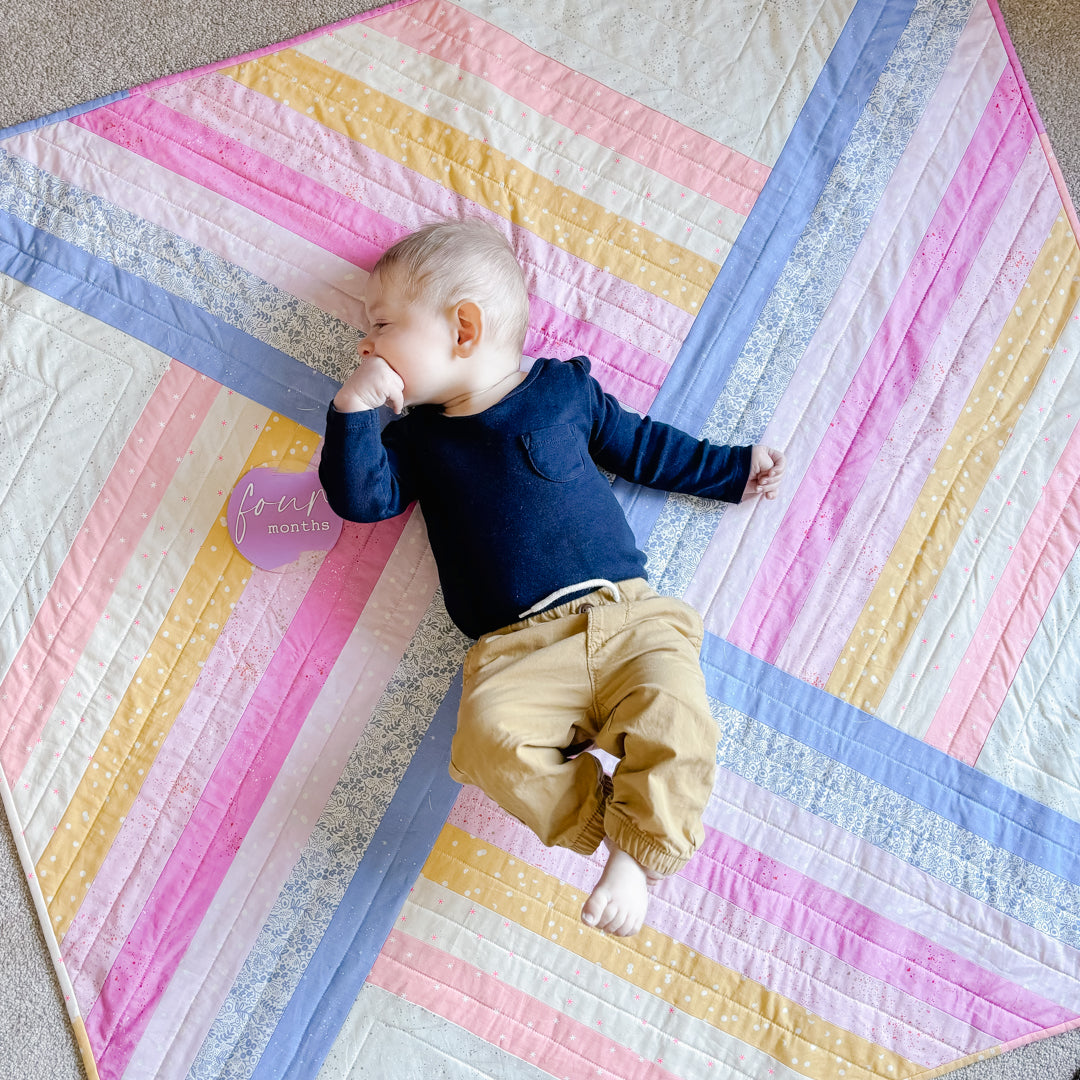
Ever since I saw others making Rosie Taylor Crafts Sew and Tell Case, I thought that would make the perfect case for my kids yoto cards with some modification. Here is the link to the Sew and Tell Case: https://www.etsy.com/ca/listing/4309066352/sew-and-tell-case-pattern-sewing-and
So how was I going to do this? In the Sew and Tell Case pattern you can see there are instructions for a page with vinyl pockets. I was going to use this for every page, and modify the size of pocket to hold a Yoto card. A Yoto card is 3.375 x 2.15 inches. Once you factor in seam allowances, the pages of the pattern are wide enough for 3 cards side by side, but only long enough for 2 rows of cards. Two rows per page x 4 pages is 24 cards. We already owned 22 cards, so I felt that this was not enough. This left me with a decision: Do I add vinyl pockets on the inside cover pages (12 more slots) or make the book longer to accommodate 3 rows per page (12 more slots)? The pattern was not designed for either of these modifications.
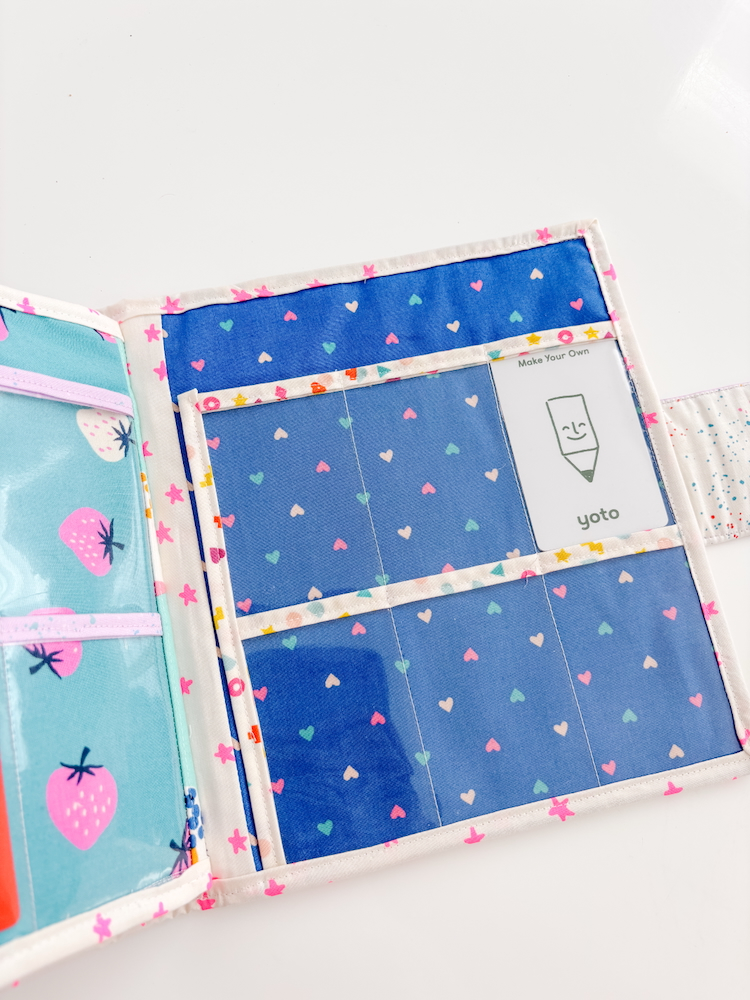
Ultimately, I decided to add pockets to the inside cover pages. With two rows of vinyl per page, there was a lot of unused space, which made it possible to shorten the case’s length. This resulted in a more square book, making it more compact and travel-friendly.
Even though this is the route I took, I would not recommend it. If I was to make it again, I would make it longer (add 1 inch to every length measurement for the cover and inside pages) and do the 3 rows of vinyl per page. This is because to put the vinyl on the inside cover, I REALLY had to modify how the cover was assembled and made. It made it unnecessarily complicated. It would be much easier to add a 3rd row per page in a longer book, and leave the inside cover as the slip pockets. Read on though if you want to know how to handle the smaller version.
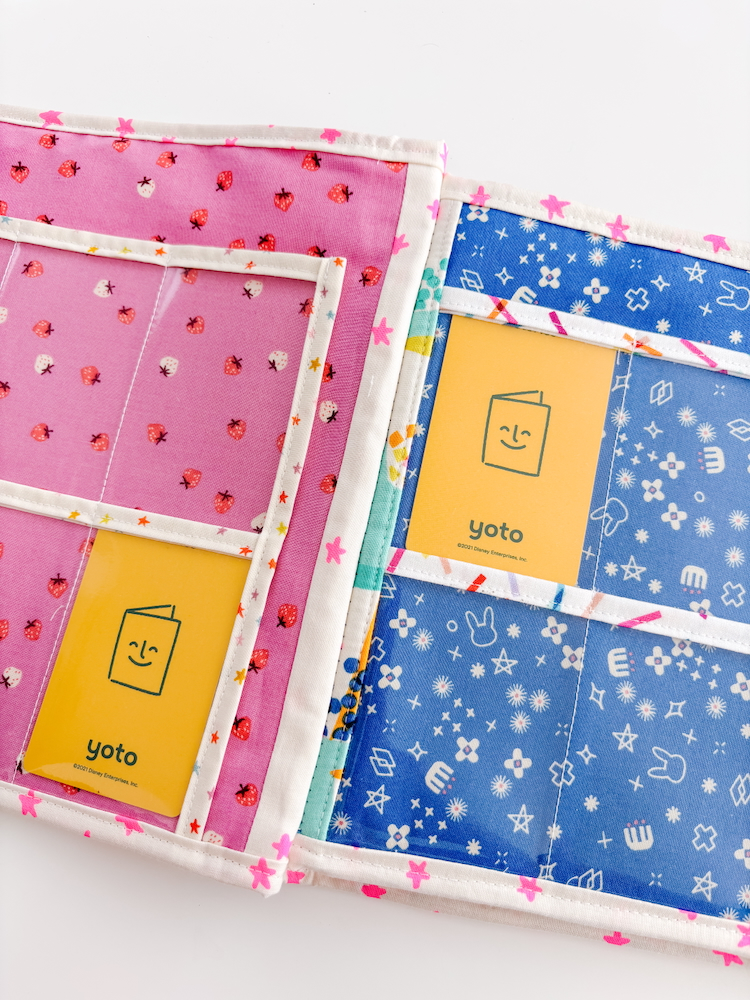
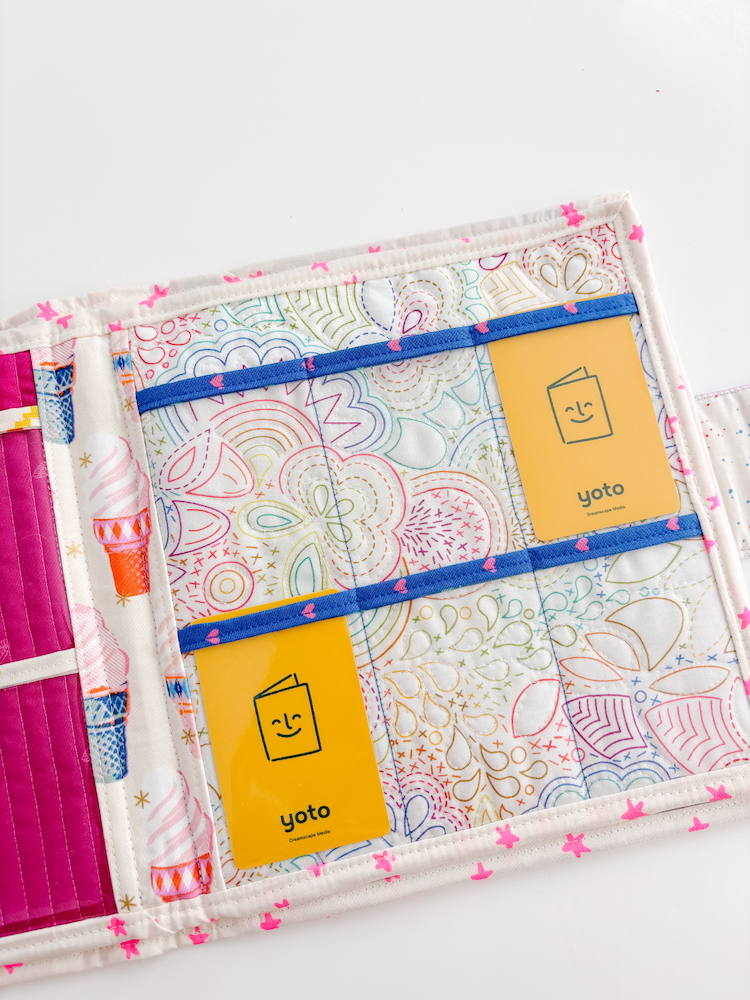
To do this I took 1.75 inches off every length measurement related to the cover and inside pages. I also had to quilt the cover without the lining on it; you don’t want the quilting through the vinyl or the vinyl stitching through the quilting. For the lining of the cover, I prepared the vinyl pockets the same I would for the pages with two caveats. 1) They couldn’t be as wide. You will notice the inside slip pockets are narrower than the inside pages. Probably to leave room for stitching down the pages. 2) The inside edge of the vinyl would not be enclosed by anything, thus needing some “side binding”. To accommodate #1, I made the vinyl 7.5 inches wide. To accommodate #2, I made some extra binding and when stitching the bottom edge of each vinyl strip, I stopped 0.25 inches from the edge. Once the two strips were attached, I put the binding on the edge, covering both vinyl pieces, and stitched it down. I left the bottom edge of the binding raw as it would be enclosed eventually, and the top edge I folded under. I then sewed the lines to separate the vinyl into pockets. This was repeated on the other side of the cover lining, so that the lining had 4 rows of vinyl. Two on the “front page” and two on the “back page”. Once all that was finished I clipped it to the quilted cover outside, and basted them together with 1/8 inch stitch. An additional accommodation was needed when it came to the binding. It could not be hand stitched down with the vinyl and thus needed machine stitched on both sides.
As I mentioned, lots of complications to add the vinyl to the inside cover. I would rather make longer pages and leave the cover be in the future. Do you think you will try to make a Yoto card case?